
Why You’ll Love This Banana Pudding
As someone who’s always tinkering in the kitchen, I think this banana pudding recipe is one of those desserts that just brings everyone together. Picture this: it’s super simple to whip up, with straightforward steps that let you enjoy the process without getting overwhelmed that’s why it’s ideal for busy parents or students looking for a quick treat. You get all the health perks from bananas, packed with potassium and vitamin C, plus you can tweak it for different diets, making it a go-to for food enthusiasts and anyone watching what they eat.
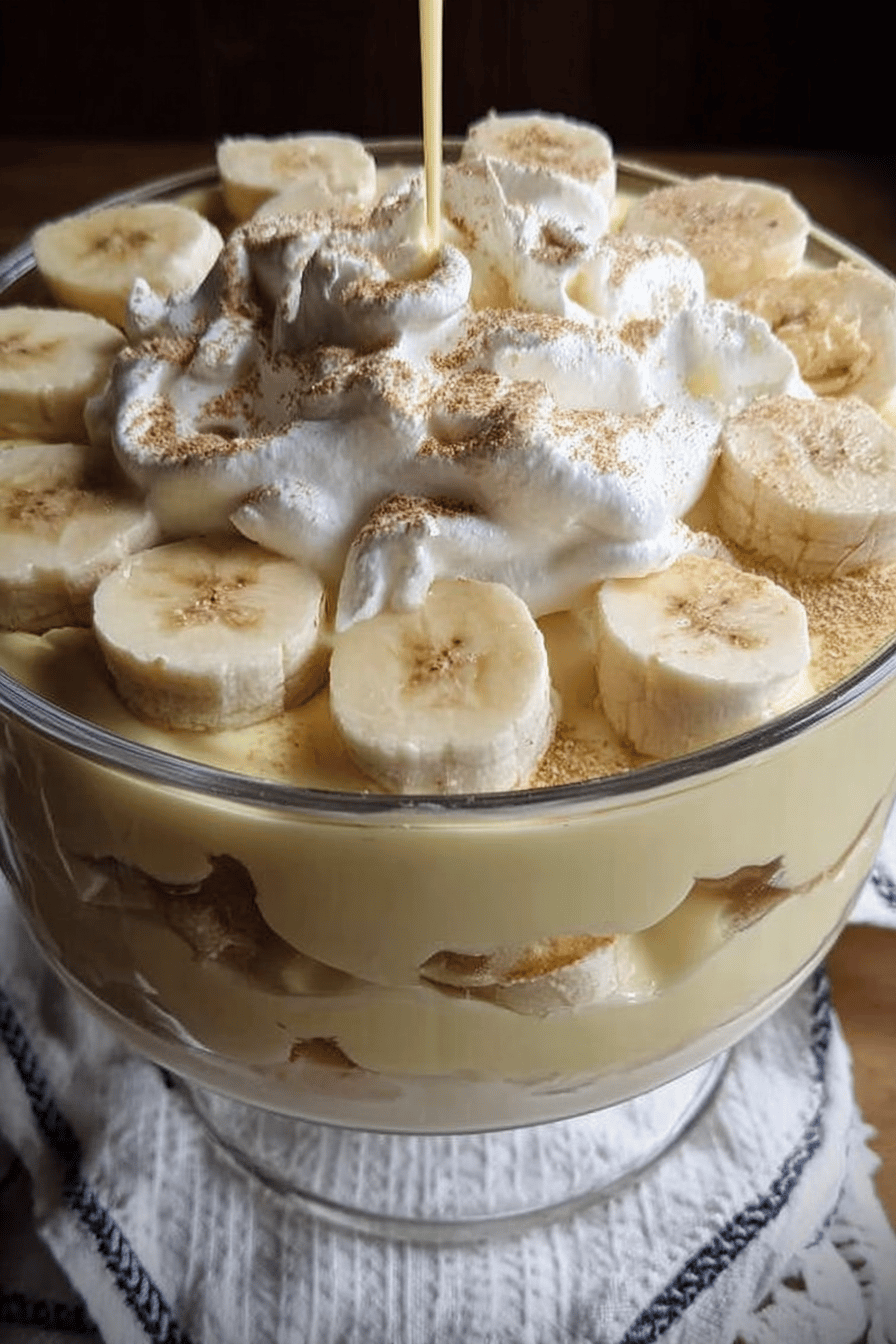
Let me share how I’ve made this for family gatherings, and it never fails to impress with its creamy, dreamy layers. This banana pudding stands out because of its natural sweetness from fresh bananas and that comforting vanilla flavor, turning ordinary ingredients into something special. Trust me, once you try it, you’ll want to make it again and again for those memorable moments around the table.
To build on that, this recipe’s adaptability is a game-changer I often swap things up based on what’s in my pantry, and it always turns out great. Ease of preparation means you can have it ready in no time, perfect for newlyweds hosting their first dinner or seniors wanting a simple joy. If you’re like me, experimenting with flavors keeps things exciting while keeping the core recipe straightforward and delicious.
Benefits Breakdown
- Ease of preparation: This banana pudding comes together quickly with minimal ingredients and steps, ideal for a fast dessert anytime.
- Health benefits: Bananas offer key nutrients like potassium and vitamin C, and you can choose wholesome options to support energy and digestion.
- Versatility: Adapt it easily for vegan, gluten-free, or low-calorie needs by swapping ingredients, so it fits various lifestyles without losing its charm.
- Distinctive flavor: The smooth creaminess combined with fresh banana sweetness creates a one-of-a-kind taste that’s hard to beat.
I’ve found that using fresh ingredients really makes this shine, and it’s become a staple in my recipe lineup for its reliability and crowd-pleasing vibe.
Essential Ingredients for Banana Pudding
When I first started making banana pudding, I realized how key the right ingredients are to nailing that perfect balance of creaminess and crunch. Based on what I’ve tested, let’s dive into the essentials for this classic recipe. I’ll list them out clearly so you can grab everything you need without any guesswork it’s all about making cooking accessible and fun for home cooks like us.
Main Ingredients List
- 1 can (14 ounces / 397 grams) sweetened condensed milk
- 1 ½ cups (355 ml) ice-cold water
- 1 package (3.4 ounces / 96 grams) instant vanilla pudding mix
- 3 cups (720 ml) heavy whipping cream
- 4 cups (approximately 4-6 medium bananas) sliced bananas (preferably barely ripe, slightly green)
- 1 box (12 ounces / 340 grams) vanilla wafers (shortbread, butter cookies, or animal crackers can be substituted)
This structured list covers everything you need for the full recipe, ensuring precise measurements for easy preparation. I always measure carefully to get that ideal texture.
Special Dietary Options
For those adapting to different needs, like I do for my diet-conscious friends, here are some swaps: use plant-based milk for vegan versions, or gluten-free cookies instead of wafers. These changes keep the flavor spot-on while making it inclusive.
How to Prepare the Perfect Banana Pudding: Step-by-Step Guide
Getting banana pudding just right is all about following simple steps, and I’ve perfected this through trial and error in my own kitchen. Start by gathering your ingredients like slicing those bananas evenly so everything layers beautifully. Then, mix up the pudding base with sweetened condensed milk and ice-cold water, whisking it smooth before adding the instant vanilla pudding mix.
Once that’s chilling, whip the heavy cream until it forms stiff peaks and fold it into the pudding for that light, creamy filling. For assembly, layer the vanilla wafers, banana slices, and pudding mixture in a large dish, repeating for even distribution. Finally, let it chill so the flavors meld together it’s a process that rewards your patience with a truly delicious result.
- First Step: In a large mixing bowl, beat 1 can (14 ounces / 397 grams) sweetened condensed milk and 1 ½ cups (355 ml) ice-cold water for 1 minute until smooth. Add 1 package (3.4 ounces / 96 grams) instant vanilla pudding mix and beat for 2 minutes until well combined. Cover and refrigerate for 3-4 hours or overnight to set.
- Second Step: In a separate bowl, whip 3 cups (720 ml) heavy whipping cream until stiff peaks form. Gently fold the whipped cream into the chilled pudding mixture until fully combined.
- Third Step: Use a large glass bowl, trifle dish (4-5 quart capacity), or a 9×13 inch baking dish for assembly.
- Fourth Step: Layer one-third of the 1 box (12 ounces / 340 grams) vanilla wafers on the bottom, overlapping as needed. Add one-third of the 4 cups sliced bananas over the wafers, then spoon one-third of the pudding mixture evenly over the bananas. Repeat these layers two more times.
- Fifth Step: Garnish the top with additional wafers or wafer crumbs. Cover tightly with plastic wrap and refrigerate for at least 4 hours, but no longer than 8 hours, to allow flavors to meld and firm up.
For dietary twists, like I mentioned before, swap in vegan alternatives during these steps to keep it adaptable. Oh, and if you’re looking for more layered dessert ideas, check out our banana pudding cake recipe for a fun variation.

Dietary Substitutions to Customize Your Banana Pudding
I love how banana pudding can be tweaked to fit everyone’s preferences, and I’ve tried plenty of swaps myself to make it work for different crowds. For instance, if you’re dealing with lactose intolerance, switch out the dairy milk for almond or oat milk it’s a simple change that keeps things creamy. Or, use coconut cream instead of whipped cream for a vegan take that still feels indulgent.
- Protein and Main Component Alternatives: Substitute traditional dairy milk with almond, oat, or soy milk for lactose intolerance and vegan preferences. Use coconut cream or aquafaba as a replacement for whipped cream. For gluten-free needs, replace vanilla wafers with certified gluten-free cookies or crushed nuts.
- Vegetable, Sauce, and Seasoning Modifications: Add a pinch of cinnamon or nutmeg to the pudding for extra warmth. Incorporate mashed avocado for more creaminess in vegan versions, or use maple syrup as a natural sweetener to adjust the sugar level.
These options let you personalize the recipe while holding onto that classic banana pudding taste I adore.
Mastering Banana Pudding: Advanced Tips and Variations
Once you’re comfortable with the basics, let’s amp up your banana pudding game I’ve picked up some pro tricks that make all the difference. For that ultra-smooth texture, strain the pudding mixture before adding the whipped cream, and always chill your ingredients first to help it set faster. As for flavors, I like tossing in coffee extract for a mocha vibe or toasted coconut for a tropical spin, which keeps things fresh and exciting.
Presentation and Storage Ideas
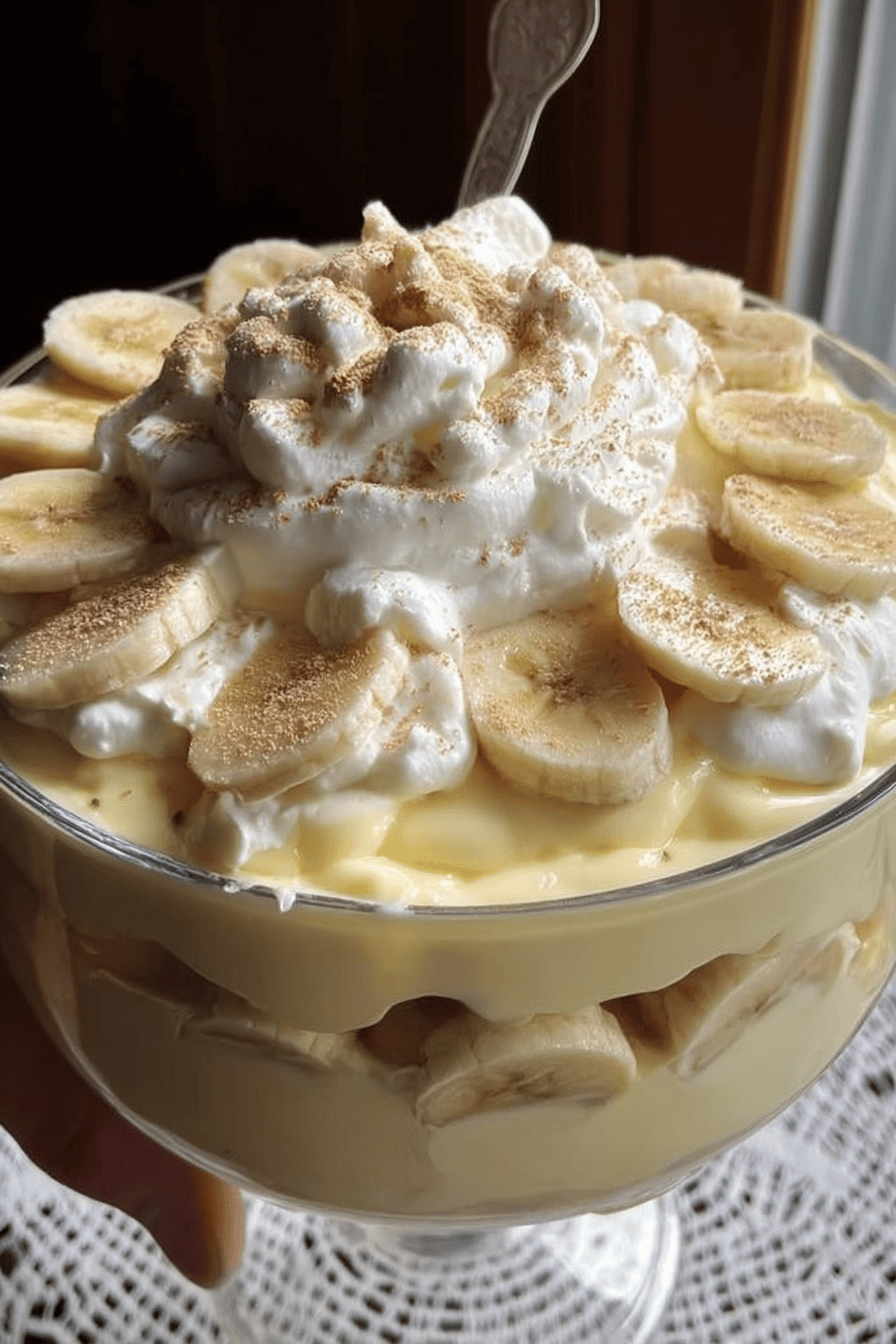
When it comes to showing off your creation, serve it in clear glass cups with neat layers for a wow factor, and top with fresh mint if you have it. If you’re planning ahead like I often do, prepare the pudding base a day early and assemble right before serving to keep those wafers crisp. For similar treats that build on this recipe, you might enjoy our chocolate mousse recipe, which layers flavors in a similar fun way.
| Tips | Benefits |
|---|---|
| Pro cooking techniques | Strain mixture for smoothness and chill for faster setting |
| Flavor variations | Add coffee or coconut for new tastes |
| Presentation tips | Use glass cups and garnishes for appeal |
This table helps visualize how to elevate your pudding, making it easier to experiment at home.
How to Store Banana Pudding: Best Practices
Storing banana pudding properly keeps it tasting fresh, and I’ve learned from experience that refrigeration is your best friend here. Pop it in a covered container in the fridge for up to 3 days to hold onto that creamy texture. If you’re freezing, wrap portions tightly and thaw them slowly, though it might change the feel a bit still, it’s handy for meal prep.
- Refrigeration: Keep in a covered container for up to 3 days.
- Freezing: Freeze portions for up to 1 month and thaw in the fridge.
- Reheating: Serve cold, or let it warm at room temperature; skip the microwave.
- Meal prep: Make components separately and assemble fresh for the best results.
Following these steps ensures your dessert stays as good as new, perfect for those times when life gets busy.
FAQs: Frequently Asked Questions About Banana Pudding
How can I prevent bananas from browning when making banana pudding?
What are the traditional ingredients used in classic banana pudding recipes?
Can I make banana pudding ahead of time, and how should I store it?
How do Nilla wafers affect the texture of banana pudding?
What are some variations of banana pudding I can try for different flavors?
Banana Pudding
- Total Time: 7 hours 15 minutes
- Yield: 8–10 servings 1x
- Diet: Vegetarian
Description
🍌 Banana Pudding is a luscious and creamy dessert that brings comfort and joy with its classic layers.
🥄 This recipe lets you recreate the famous Southern favorite right in your kitchen with simple ingredients and easy steps.
Ingredients
1 can (14 ounces / 397 grams) sweetened condensed milk
1 ½ cups (355 ml) ice-cold water
1 package (3.4 ounces / 96 grams) instant vanilla pudding mix
3 cups (720 ml) heavy whipping cream
4 cups (approximately 4–6 medium bananas) sliced bananas (preferably barely ripe, slightly green)
1 box (12 ounces / 340 grams) vanilla wafers (shortbread, butter cookies, or animal crackers can be substituted)
Instructions
First Step: In a large mixing bowl, beat 1 can (14 ounces / 397 grams) sweetened condensed milk and 1 ½ cups (355 ml) ice-cold water for 1 minute until smooth. Add 1 package (3.4 ounces / 96 grams) instant vanilla pudding mix and beat for 2 minutes until well combined. Cover and refrigerate for 3-4 hours or overnight to set.
Second Step: In a separate bowl, whip 3 cups (720 ml) heavy whipping cream until stiff peaks form. Gently fold the whipped cream into the chilled pudding mixture until fully combined.
Third Step: Use a large glass bowl, trifle dish (4-5 quart capacity), or a 9×13 inch baking dish for assembly.
Fourth Step: Layer one-third of the 1 box (12 ounces / 340 grams) vanilla wafers on the bottom, overlapping as needed. Add one-third of the 4 cups sliced bananas over the wafers, then spoon one-third of the pudding mixture evenly over the bananas. Repeat these layers two more times.
Fifth Step: Garnish the top with additional wafers or wafer crumbs. Cover tightly with plastic wrap and refrigerate for at least 4 hours, but no longer than 8 hours, to allow flavors to meld and firm up.
Notes
🍋 To prevent bananas from browning, lightly brush slices with lemon juice, pineapple juice, apple juice, water, or club soda (avoid tonic water).
⏳ Serve within 8 hours of assembly for best freshness and appearance.
🍪 Vanilla wafers soften inside the pudding to create a delightful cake-like texture.
- Prep Time: 15 minutes
- Chilling Time: 7 hours
- Category: Dessert
- Method: Layering
- Cuisine: Southern American
Nutrition
- Serving Size: 1 cup
- Calories: 320 kcal
- Sugar: 42 g
- Sodium: 230 mg
- Fat: 14 g
- Saturated Fat: 8 g
- Unsaturated Fat: 5 g
- Trans Fat: 0 g
- Carbohydrates: 45 g
- Fiber: 2 g
- Protein: 4 g
- Cholesterol: 60 mg
Keywords: Banana Pudding, Classic Dessert, Southern Recipe, Layered Pudding