Imagine indulging in a dessert that’s as refreshing as it is satisfying—a frozen cheesecake that’s both creamy and rich without requiring you to turn on the oven. This no-bake frozen cheesecake is the perfect treat for any occasion, whether you’re hosting a summer gathering, celebrating a special moment, or just treating yourself to a delightful end to a meal.
What sets this cheesecake apart is its simplicity. With just a handful of ingredients and a few easy steps, you can create a dessert that tastes like it took hours to prepare. The smooth, velvety filling pairs beautifully with a sweet and salty crust, creating a flavor combination that’s hard to resist. Plus, because it’s kept in the freezer, you can make it ahead of time and have it ready whenever the mood strikes—no last-minute scrambling needed.
Whether you’re a seasoned baker or someone who rarely ventures into the kitchen, this recipe is designed to be accessible to everyone. The ingredients are straightforward, the instructions are easy to follow, and the results are nothing short of magical. So let’s dive in and discover how you can whip up this no-bake frozen cheesecake that will surely become a favorite in your dessert repertoire.

Ingredients For Frozen Cheesecake
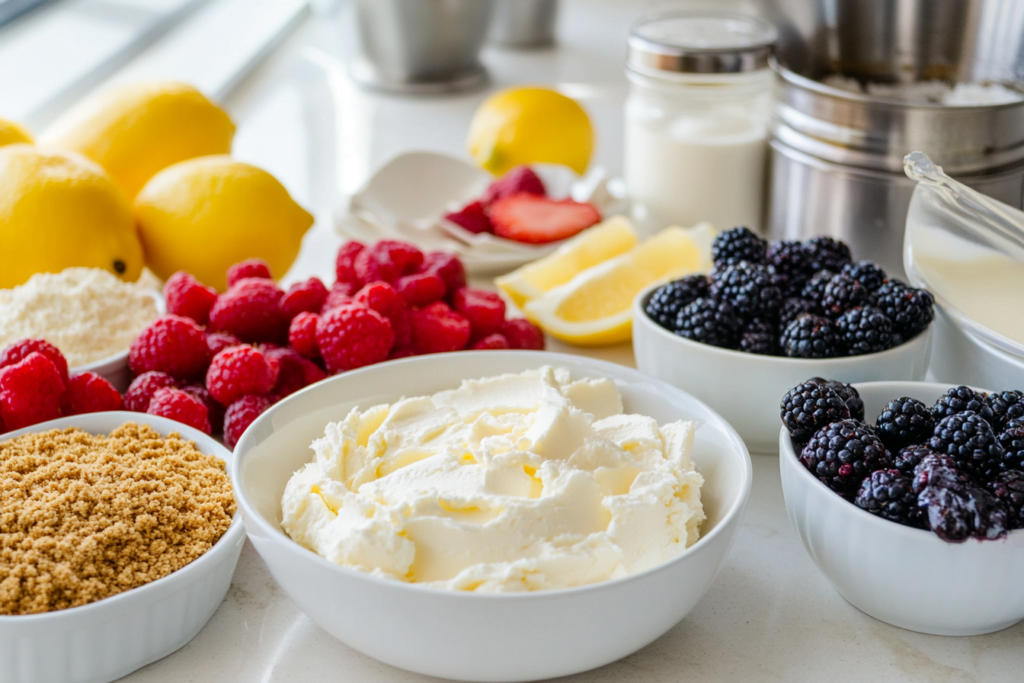
Creating a no-bake frozen cheesecake is all about simplicity, and it starts with gathering the right ingredients. Each element plays a crucial role in achieving that perfect balance of flavors and textures. Here’s what you’ll need:
Crust:
- 2 cups graham cracker crumbs (or crushed digestive biscuits)
- 1/2 cup unsalted butter, melted
- 1/4 cup granulated sugar
- Optional: A pinch of salt to enhance the sweetness
Cheesecake Filling:
- 16 oz (2 packages) cream cheese, softened
- 1 cup granulated sugar
- 1 teaspoon vanilla extract
- 1 tablespoon lemon juice (freshly squeezed for best results)
- 2 cups heavy cream, cold
- Optional: Zest of one lemon for a refreshing citrus twist
Toppings (Optional but Recommended):
- Fresh berries (e.g., strawberries, blueberries, raspberries)
- Chocolate shavings or sauce
- Whipped cream
- Caramel or fruit compote
These ingredients are the building blocks of your frozen cheesecake. They’re not only easy to find but also versatile, allowing you to add your personal touch to the recipe. Whether you stick to the classic combination or experiment with optional flavors and toppings, you’re in for a treat.

Step-by-Step Instructions
Step 1: Preparation of the Crust
The foundation of any great cheesecake is its crust. For this no-bake frozen cheesecake, we’re going with a classic graham cracker crust that’s both sweet and slightly salty—perfectly balancing the rich filling.
Crush the Cookies:
- Begin by crushing the graham crackers or digestive biscuits into fine crumbs. You can do this by placing them in a zip-top bag and rolling over them with a rolling pin, or you can pulse them in a food processor for a finer texture.
- Tip: For an extra crunchy crust, leave a few slightly larger crumbs.
Mix with Butter and Sugar:
- In a mixing bowl, combine the graham cracker crumbs, melted butter, and granulated sugar. Stir until the mixture resembles wet sand.
- Optional: Add a pinch of salt to the mixture to contrast the sweetness.
Press into the Pan:
- Press the crumb mixture into the bottom of a 9-inch springform pan, using the back of a spoon or the bottom of a glass to press it down firmly and evenly.
- Tip: To ensure an even crust, start pressing from the center and work your way outwards, making sure the edges are slightly raised.
Chill the Crust:
- Place the crust in the freezer for at least 15 minutes to set while you prepare the filling.
Step 2: Making the Cheesecake Filling
The filling is where the magic happens. It’s creamy, smooth, and just the right amount of sweet, making it the star of this dessert.
Beat the Cream Cheese:
- In a large mixing bowl, beat the softened cream cheese until it’s smooth and free of lumps. This step is crucial for achieving a silky texture in your cheesecake.
- Tip: Make sure the cream cheese is at room temperature before you start, as cold cream cheese can result in a lumpy filling.
Add Sugar and Flavorings:
- Gradually add the sugar, vanilla extract, and lemon juice, continuing to beat the mixture until it’s fully incorporated and smooth.
- Optional: For a hint of citrus, add lemon zest at this stage.
Whip the Cream:
- In a separate bowl, whip the cold heavy cream until stiff peaks form. Be careful not to over-whip, as you want the cream to hold its shape but remain smooth.
- Tip: Chill the bowl and beaters in the fridge for a few minutes before whipping the cream to help it whip faster and more evenly.
Fold the Whipped Cream into the Cream Cheese Mixture:
- Gently fold the whipped cream into the cream cheese mixture using a spatula. Take care not to deflate the whipped cream, as this will keep your cheesecake light and airy.
- Tip: Fold in small batches to ensure even distribution.
With your filling ready, you’re just steps away from assembling your frozen cheesecake.
Step 3: Assembling the Cheesecake
Now that you’ve prepared both the crust and the filling, it’s time to bring everything together. Assembling the cheesecake is a simple process, but a few tips will ensure that your dessert turns out perfectly.
Pour the Filling Over the Crust:
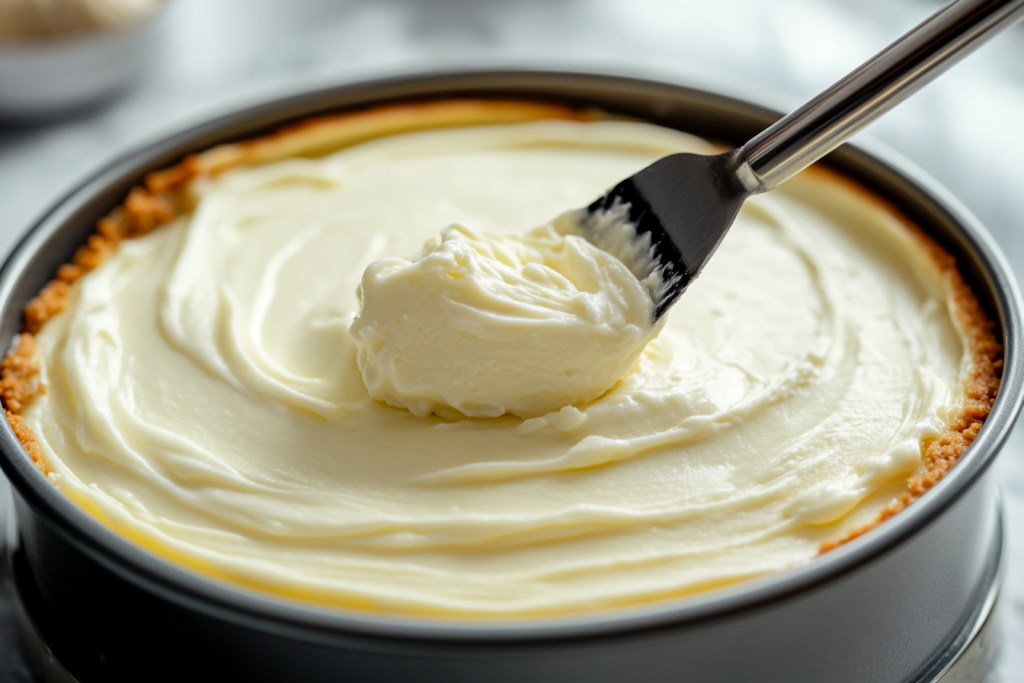
- Remove the chilled crust from the freezer. Gently pour the cream cheese filling over the crust, using a spatula to spread it evenly across the surface.
- Tip: For an extra smooth finish, tap the pan gently on the countertop to remove any air bubbles.
Smooth the Top:
- Use the back of a spoon or a spatula to smooth the top of the cheesecake. Aim for a level surface, as this will make slicing easier later on.
- Optional: If you want a textured finish, swirl the top with the spatula for a decorative effect.
Freeze the Cheesecake:
- Place the cheesecake in the freezer and allow it to set for at least 4 hours, or overnight for best results. This will give the cheesecake time to firm up and develop its rich, creamy texture.
- Tip: To prevent freezer burn, cover the cheesecake with plastic wrap or aluminum foil, ensuring it doesn’t touch the surface of the dessert.
Check for Firmness:
- Before serving, check that the cheesecake is fully frozen and firm to the touch. If it’s still slightly soft in the center, give it more time in the freezer.
Step 4: Serving the Cheesecake
After all the effort you’ve put into preparing this no-bake frozen cheesecake, it’s finally time to enjoy it. The key to serving is allowing it to thaw just enough to be creamy, without losing its firm, frozen structure.
Remove from the Pan:
- To remove the cheesecake from the springform pan, run a knife around the edge of the pan to loosen the sides. Release the spring and carefully lift the ring away from the cheesecake.
- Tip: For a clean release, warm the knife in hot water, dry it off, and then use it to run around the edge.
Slice and Serve:
- Use a sharp, warm knife to cut the cheesecake into slices. Warm the knife between each cut for clean, even slices.
- Tip: If you prefer a softer texture, allow the cheesecake to sit at room temperature for 10-15 minutes before slicing.
Garnish and Present:
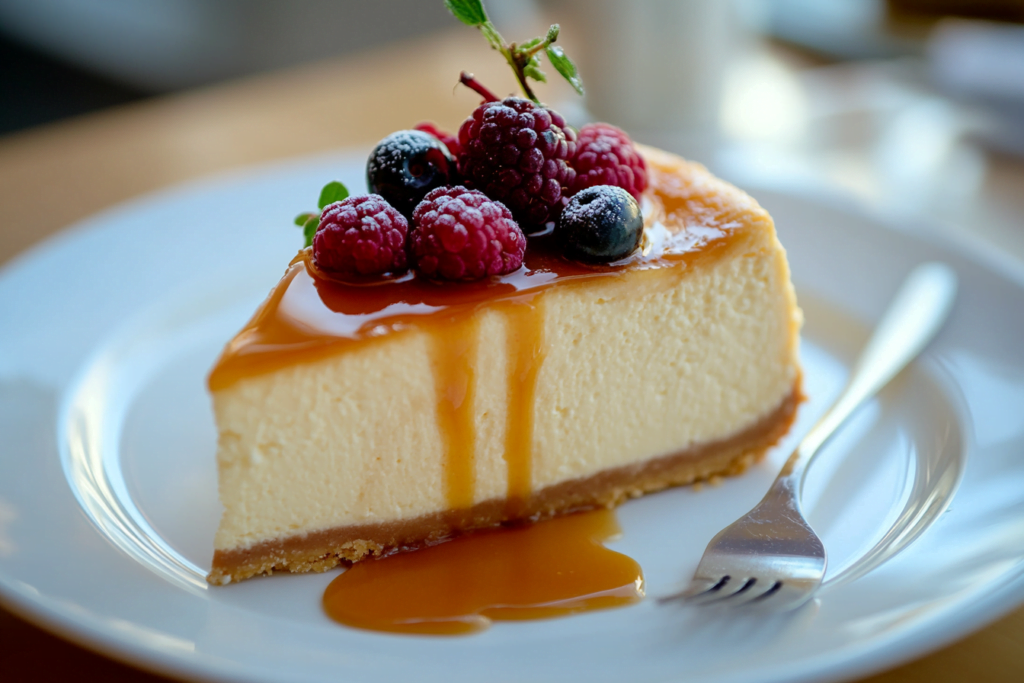
- Add your favorite toppings to the cheesecake slices. Fresh berries, chocolate shavings, or a drizzle of caramel sauce can elevate the presentation and enhance the flavor.
- Serving Suggestion: Pair with a cup of coffee or a glass of sparkling wine for a truly indulgent dessert experience.
Storing Leftovers:
- If you have leftovers, wrap the cheesecake tightly in plastic wrap and return it to the freezer. It can be stored for up to two weeks, allowing you to enjoy this treat whenever you like.
- Tip: When storing individual slices, place a piece of parchment paper between slices to prevent them from sticking together.
Now that your frozen cheesecake is ready to be served, let’s explore some creative ways to garnish and present this delightful dessert.

Serving Suggestions
Your frozen cheesecake is already a showstopper on its own, but a few thoughtful garnishes and presentation ideas can make it truly unforgettable. Here are some ways to elevate your cheesecake and make it the centerpiece of any meal.
Garnishing Ideas:
- Fresh Berries:
- Top each slice with a handful of fresh berries like strawberries, blueberries, or raspberries. The bright, tart flavors of the berries beautifully complement the rich, creamy cheesecake.
- Chocolate Shavings:
- For a touch of indulgence, sprinkle chocolate shavings or drizzle melted chocolate over the top. Dark chocolate adds a bittersweet note, while white chocolate offers a sweet contrast.
- Whipped Cream:
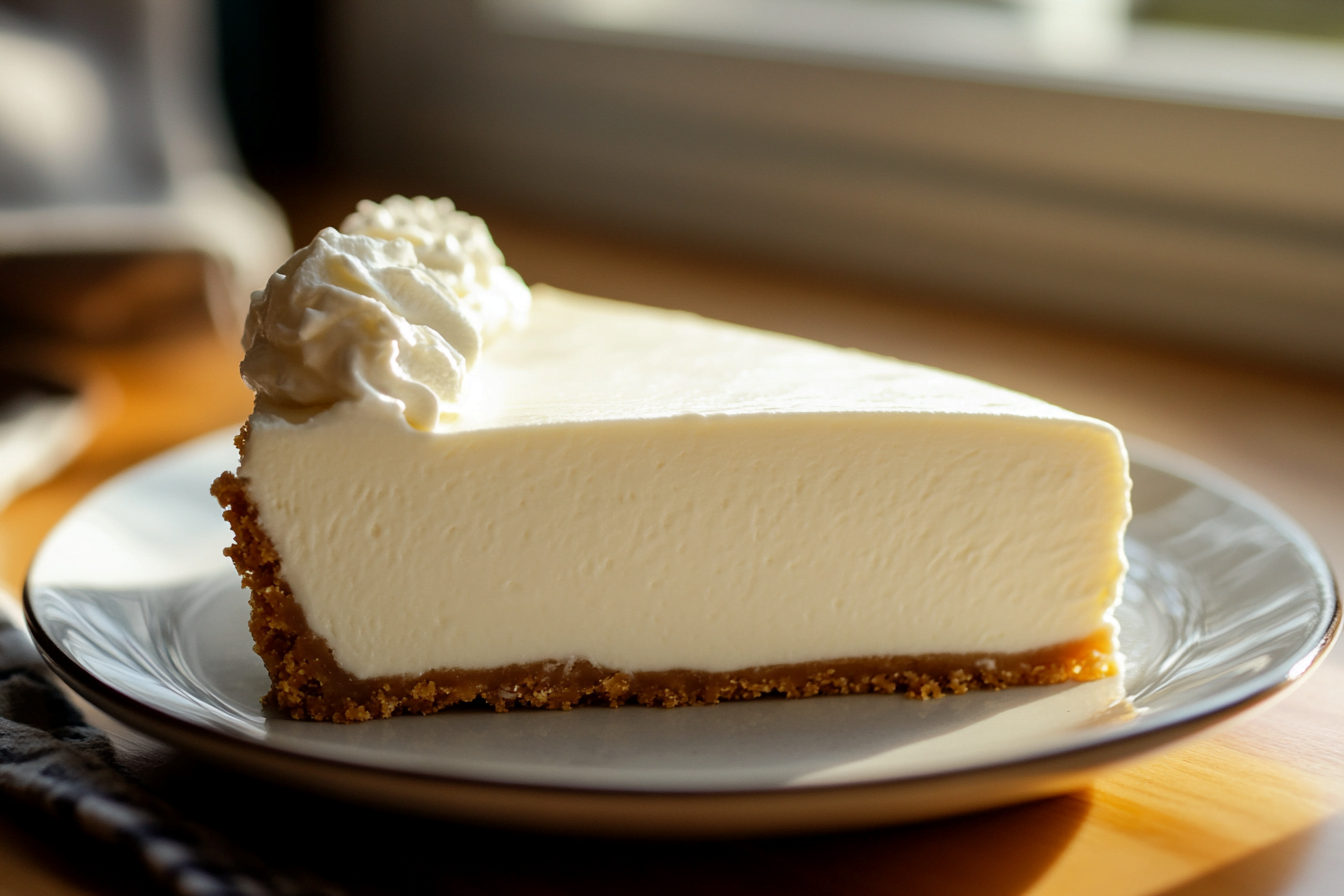
- Add a dollop of whipped cream to each slice for extra creaminess. You can pipe it around the edges for a more decorative effect or simply spoon it on top.
- Caramel or Fruit Compote:
- Drizzle caramel sauce or a fruit compote over the cheesecake for added sweetness and a burst of flavor. Consider using a raspberry or blueberry compote for a tangy twist.
- Fresh Berries:
Presentation Tips:
- Plating:
- Serve the cheesecake on a chilled plate to keep it cool and refreshing. If you’re serving slices, stagger them slightly on the plate for a more artistic presentation.
- Decorative Elements:
- Add some fresh mint leaves or edible flowers for a pop of color and elegance. These small touches can make a big difference in the visual appeal of your dessert.
- Pairing Suggestions:
- Pair your frozen cheesecake with a beverage that complements its flavors. A chilled glass of Prosecco, a hot cup of coffee, or a fruity iced tea can enhance the overall experience.
- Plating:
Serving in Different Settings:
- Casual Gatherings:
- Serve the cheesecake directly from the pan at casual family gatherings. Let everyone slice their own piece, and provide a variety of toppings so guests can customize their dessert.
- Formal Dinners:
- For a more formal occasion, slice the cheesecake in advance and plate each serving with care. Garnish each plate individually, and add a drizzle of sauce for a polished finish.
- Outdoor Parties:
- If you’re serving the cheesecake at an outdoor event, consider freezing it in individual portions. Serve the slices on a stick, like a frozen treat, for a fun and easy-to-eat option.
Variations and Tips to Enjoy frozen cheesecake
One of the best things about this no-bake frozen cheesecake is how versatile it can be. With a few simple tweaks, you can create a variety of flavors and styles to suit your taste or occasion. Here are some ideas and tips to help you get creative with your cheesecake.
Variations for frozen cheesecake
Different Crusts:
- Oreo Crust:
- Swap out the graham crackers for crushed Oreo cookies. The chocolate flavor adds a rich, decadent base that pairs wonderfully with the creamy filling.
- Digestive Biscuit Crust:
- For a more traditional taste, use digestive biscuits instead of graham crackers. The slightly less sweet flavor is perfect for those who prefer a more subtle dessert.
- Nutty Crust:
- Combine ground nuts, like almonds or pecans, with the graham cracker crumbs for a crunchy, nutty twist. This adds an extra layer of flavor and texture to the crust.
- Oreo Crust:
Flavor Additions to the Filling:
- Chocolate Cheesecake:
- Add melted chocolate to the cream cheese mixture for a rich, chocolatey filling. Dark chocolate creates a more intense flavor, while milk chocolate keeps it sweet and smooth.
- Fruit Swirl Cheesecake:
- Swirl in a fruit puree, like raspberry or strawberry, into the filling before freezing. This not only adds flavor but also creates a beautiful marbled effect.
- Caramel Cheesecake:
- Drizzle caramel sauce into the filling for a sweet, buttery flavor. This works especially well with a nutty or Oreo crust.
- Chocolate Cheesecake:
Creative Presentations:
- Cheesecake Bars:
- Instead of making a full-sized cheesecake, pour the filling into a square pan and freeze. Once set, cut into bars for an easy-to-serve, handheld dessert.
- Mini Cheesecakes:
- Use a muffin tin to create individual mini cheesecakes. Line each cup with a small amount of crust and fill with the cream cheese mixture. These are perfect for parties and portion control.
- Cheesecake on a Stick:
- For a fun twist, freeze the cheesecake in small portions and insert a stick into each one before they’re fully set. Dip in chocolate or caramel for an indulgent treat on the go.
- Cheesecake Bars:
Tips for frozen cheesecake
Storage Advice:
- Freezing:
- Store your cheesecake in the freezer, wrapped tightly in plastic wrap or aluminum foil. This will keep it fresh and prevent any freezer burn. Cheesecake can be stored in the freezer for up to two weeks.
- Thawing:
- To thaw, move the cheesecake to the refrigerator and let it sit overnight. For a quicker thaw, leave it on the counter for 4-5 hours before serving. However, remember that thawing too quickly can affect the texture, so be patient.
- Freezing:
Make-Ahead Tips:
- Plan Ahead:
- This cheesecake is a perfect make-ahead dessert. Prepare it a day or two before your event, and keep it in the freezer until you’re ready to serve. This not only saves time but also allows the flavors to develop.
- Leftover Ideas:
- If you have leftovers, don’t worry! Cheesecake tastes just as good the next day. Just be sure to wrap it well and store it properly in the freezer to maintain its texture and flavor.
- Plan Ahead:
Troubleshooting:
- Cracked Surface:
- While cracks are less common in no-bake cheesecakes, they can still occur if the filling isn’t evenly spread. Make sure to smooth the top and tap the pan to release any air bubbles.
- Soft Filling:
- If the filling doesn’t firm up as expected, it may need more time in the freezer. Check the temperature of your freezer to ensure it’s cold enough, and be patient with the setting process.
- Cracked Surface:
With these variations and tips, you can customize your frozen cheesecake to fit any occasion or preference. Whether you stick to the classic recipe or venture into new flavor combinations, this dessert is sure to impress.
Frozen Cheesecake Magic: Enjoyable for everyone
The beauty of this no-bake frozen cheesecake lies in its simplicity, versatility, and, of course, its irresistible flavor. Whether you’re preparing it for a special celebration, a casual family dinner, or just to satisfy a craving, this dessert is sure to become a staple in your recipe collection.
From the crunchy, buttery crust to the creamy, dreamy filling, every bite is a testament to the ease and joy of creating something delicious without the need for baking. The ability to make this cheesecake ahead of time and store it in the freezer means you can always have a show-stopping dessert ready at a moment’s notice.
Remember, the possibilities are endless with this recipe. You can stick to the classic version, or let your creativity run wild with different crusts, fillings, and toppings. And don’t forget to experiment with presentation—whether you serve it as a whole cake, in slices, or as fun, portable bars, this cheesecake is sure to impress.
We hope this recipe inspires you to get into the kitchen and try it out for yourself. Whether you’re a seasoned pro or a kitchen novice, this no-bake frozen cheesecake is designed to be accessible and enjoyable for everyone. So, grab your ingredients, follow the steps, and treat yourself to a dessert that’s as delightful to make as it is to eat.
Don’t forget to share your creations with us! We’d love to hear how your cheesecake turned out, any variations you tried, and what your friends and family thought of it. Feel free to leave your comments below or tag us on social media with your delicious results. Happy baking—or rather, freezing!

