
Benefits and Advantages of no bake chocolate cups
No bake chocolate cups offer a delightful combination of ease and versatility, making them an excellent choice for both novice cooks and seasoned dessert enthusiasts. Their preparation requires minimal effort and no oven use, which not only saves time but also keeps the kitchen cool. This recipe is particularly beneficial for those seeking healthier dessert alternatives, as it often incorporates natural sweeteners and wholesome ingredients. The no bake method preserves the nutrients in ingredients that can be lost during baking, contributing to their health benefits.
Additionally, these chocolate cups stand out because they can be easily customized to fit various dietary preferences, including vegan, gluten-free, and low-calorie diets. Their creamy texture, rich chocolate flavor, and quick setting time make no bake chocolate cups a popular treat that’s perfect for last-minute dessert needs or holiday celebrations. Using synonyms like chocolate mousse cups or chilled chocolate desserts enhances the text’s SEO while maintaining readability.
Essential Ingredients for no bake chocolate cups
- Cocoa powder
- Coconut oil or vegan butter (for a dairy-free option)
- Sweeteners such as maple syrup or agave nectar
- Base like crushed nuts, oats, or gluten-free biscuits
- Coconut cream or cashew cream for creaminess (great vegan choices)
- Dark chocolate chips or chunks (can be replaced with sugar-free or low-calorie alternatives)
- Vanilla extract for flavor
- Pinch of salt to balance sweetness
Each ingredient serves a purpose: cocoa powder provides rich chocolate flavor, coconut oil solidifies the cups at room temperature, and natural sweeteners keep the dessert healthier than traditional sugar-based recipes. The use of gluten-free ingredients ensures the recipe is suitable for those with gluten intolerance. Synonyms such as raw chocolate cups or chilled cocoa treats make the description SEO-friendly and engaging.
Dietary Substitutions to Customize Your no bake chocolate cups
Customizing no bake chocolate cups to suit various dietary needs is straightforward due to the recipe’s flexible nature. For vegans, replacing dairy butter with coconut oil or plant-based margarines maintains the creamy consistency without animal products. Gluten-sensitive individuals can substitute traditional biscuits with certified gluten-free crackers or ground nuts to uphold the crust’s texture.
Those watching their calorie intake might opt for sugar substitutes like stevia or monk fruit sweetener instead of maple syrup, which reduces overall sugars without compromising sweetness. Nut allergies can be managed by using seeds such as sunflower or pumpkin seeds in place of nuts. Additionally, the chocolate component can be swapped with carob powder for individuals sensitive to caffeine or theobromine present in cocoa. These variations allow the recipe to accommodate a wide audience while maintaining its deliciousness and ease of preparation.
How to Prepare the Perfect no bake chocolate cups: Step-by-Step Guide
- Gather all necessary ingredients, ensuring any dietary substitutions are prepared beforehand to streamline the process.
- In a mixing bowl, combine the crushed base ingredients such as gluten-free biscuits or nuts with melted coconut oil or butter to form a crumbly mixture suitable for pressing into molds or liners.
- Press the crust mixture firmly into the bottoms of your chosen molds, creating an even layer and setting aside to chill briefly in the refrigerator for stability.
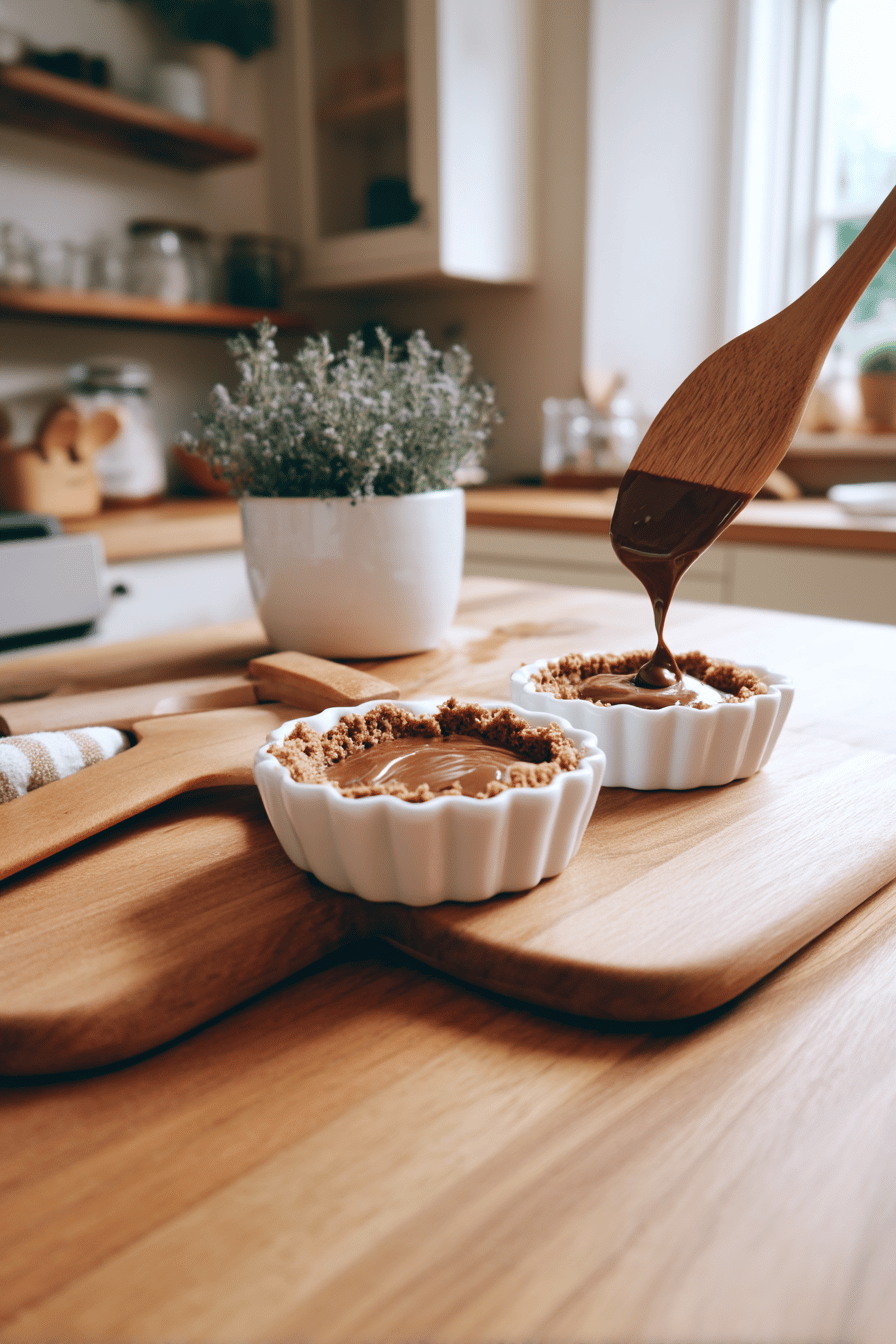
- Prepare the chocolate filling by whisking together cocoa powder, sweetener, and coconut cream or an alternative vegan cream until smooth and well combined; adjust sweetness according to taste and dietary considerations.
- Pour the chocolate mixture over the chilled crusts, spreading evenly using a spatula.
- Refrigerate the chocolate cups for at least 2 hours or until fully set, allowing flavors to meld and the texture to firm up properly.
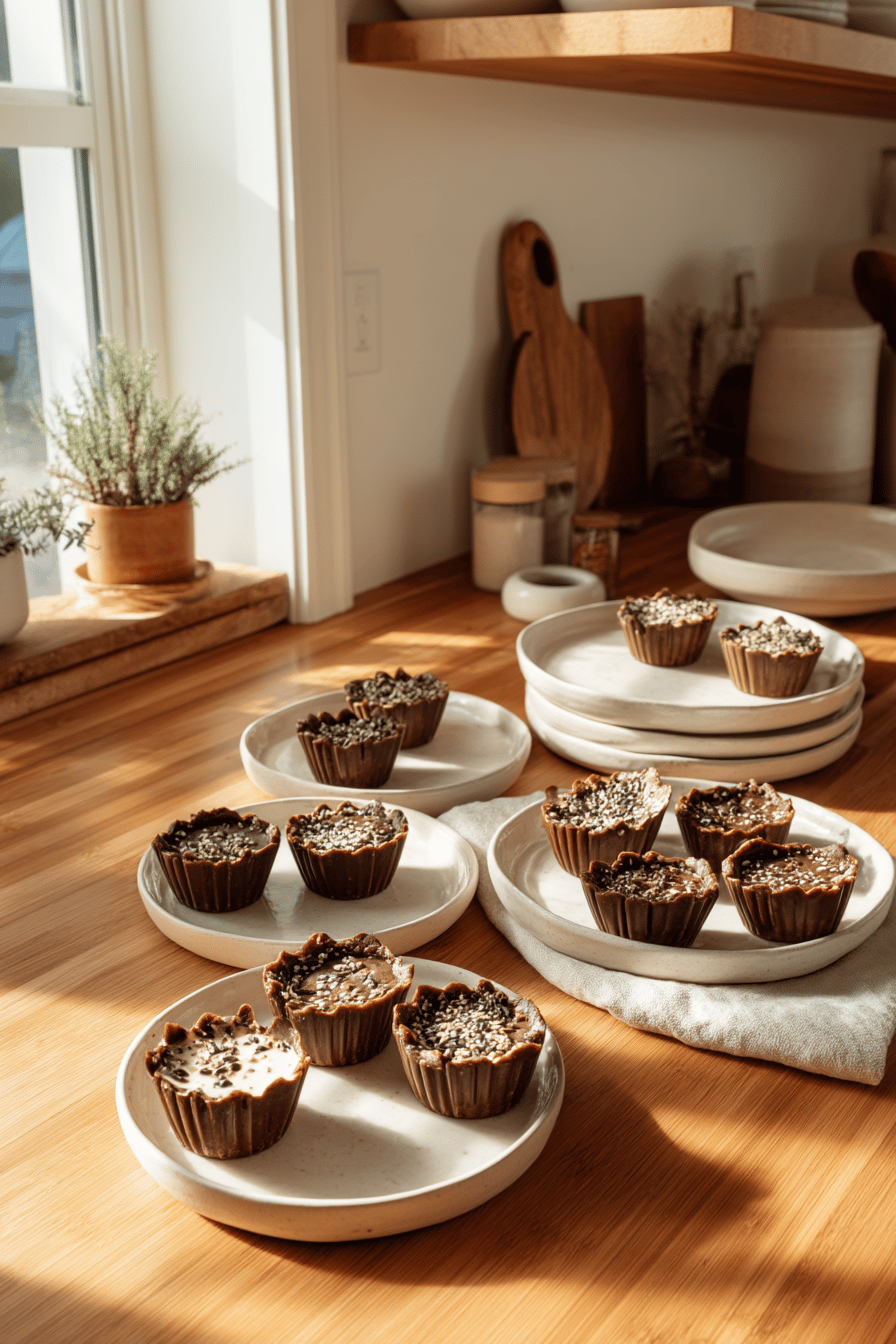
- Before serving, gently remove the chocolate cups from their molds, optionally topping with nuts, shredded coconut, or fresh fruit to add texture and flavor variations.
This no bake recipe easily adapts to dietary preferences including vegan and low-calorie options, making it a versatile and delightful dessert choice.
Advanced Tips and Variations
To make your no bake chocolate cups truly stand out, try tempering the chocolate for a glossy, firm coating that snaps delightfully when bitten. Adding flavor extracts such as peppermint, orange, or almond to the chocolate layer can bring a fresh twist to the classic flavor. Incorporate crushed freeze-dried fruits like raspberries or strawberries into the filling or crust to introduce vibrant color and a pleasant texture contrast.
For a protein boost, blend a compatible protein powder into the filling mixture without sacrificing smoothness. Richness and creaminess can be enhanced by folding in nut butters such as almond or cashew butter alongside peanut butter, adjusting ratios to maintain firmness. For a vegan version, ensure all ingredients, including chocolate chips and sweeteners, are plant-based. Gluten-free eaters can safely enjoy this treat by confirming the use of certified gluten-free ingredients for the crust and toppings.
Try layering contrasting flavors for a beautiful presentation: a base with cocoa and nuts topped with a fruity mousse or a vanilla-infused layer before the chocolate topping. These subtle modifications keep the recipe fresh and exciting while maintaining its signature healthy, no bake appeal.
How to Store no bake chocolate cups: Best Practices
Proper storage of no bake chocolate cups is essential for keeping them tasting fresh and maintaining their texture. Keep the cups refrigerated in an airtight container for up to 5 days, ensuring they stay firm and delicious. For extended storage, freeze the cups in a sealed container or freezer-safe bag for up to 2 months to prevent freezer burn and flavor loss.
When you’re ready to serve, thaw the cups slowly in the refrigerator for several hours or overnight to prevent condensation from forming and softening the texture. Avoid keeping these treats at room temperature for long periods, as the chocolate topping can soften and lose its shape. There’s no need to reheat; simply enjoy them chilled or at room temperature once thawed. These storage methods help retain the integrity and delightful taste of your no bake chocolate cups.
Nutritional Value of no bake chocolate cups
| Nutrient | Per Serving (approx.) |
|---|---|
| Calories | 276–294 kcal |
| Carbohydrates | 14–27 g |
| Protein | 7–8 g |
| Fat | 18–23 g |
| Fiber | 3–4 g |
| Sugar | 3–16 g |
| Sodium | 100–245 mg |
| Potassium | 165–273 mg |
| Calcium | 30–42 mg |
| Iron | 1–2 mg |
| Vitamin A | 2–5 IU |
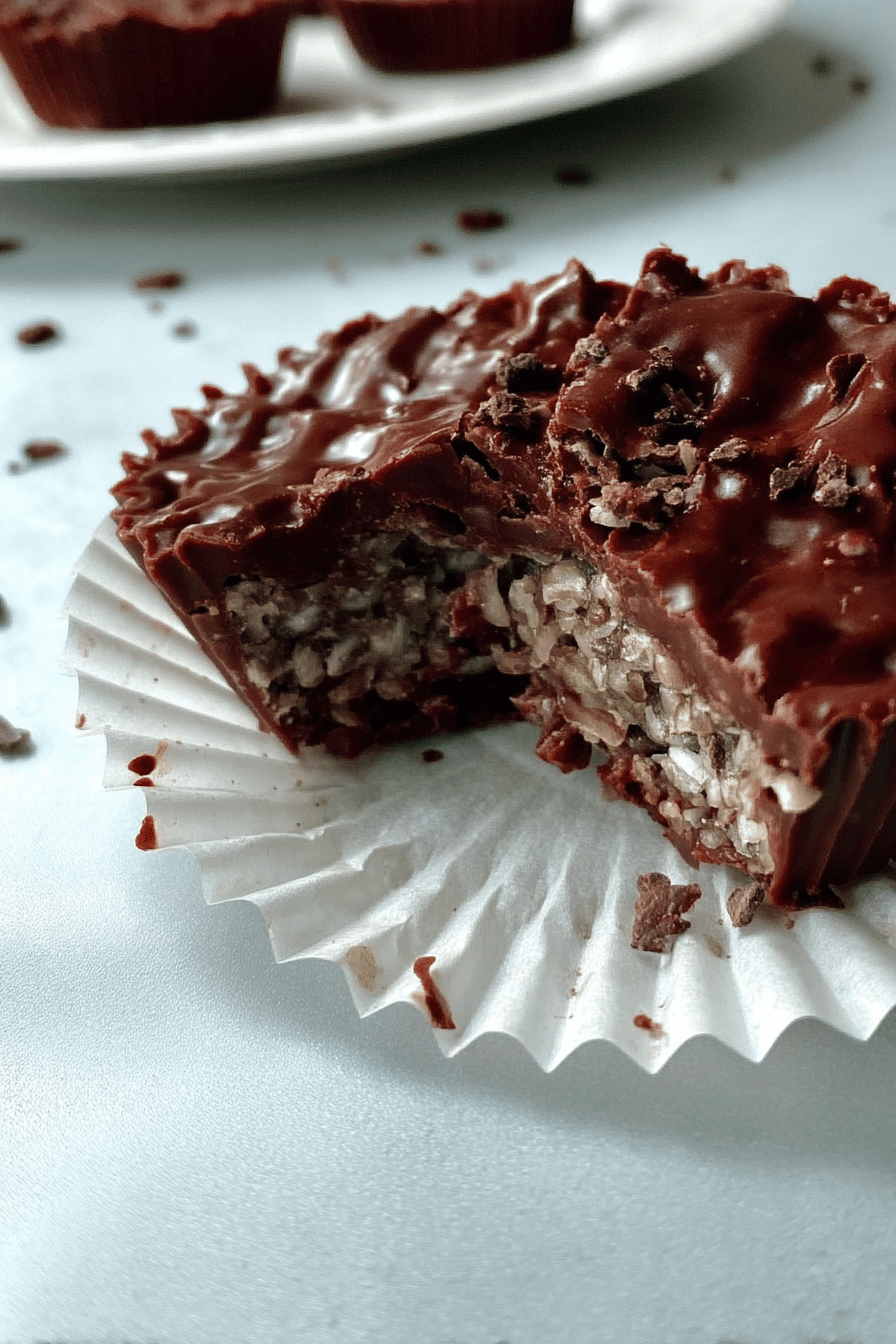
These no bake chocolate cups offer a balanced treat featuring healthy fats from nuts and coconut oil, proteins primarily from nut butters and almond flour, and antioxidants from dark chocolate. Sugar content varies with the sweeteners used, allowing flexibility for different dietary goals. Incorporating wholesome ingredients makes these cups a nutritious option among sweet treats.
FAQs: Frequently Asked Questions About no bake chocolate cups
Can I use different nut butters besides peanut butter for no bake chocolate cups?
Yes, you can substitute peanut butter with other nut or seed butters like almond butter, cashew butter, tahini, or sunflower seed butter. These alternatives work well for those with peanut allergies or simply to change the flavor profile. Choose smooth varieties for easier mixing and consider the natural sweetness and texture as it might affect the firmness of your cups.
How can I make sure the oat base in no bake chocolate cups holds together without baking?
To help the oat base bind well without baking, use a sticky sweetener like maple syrup, honey, or date syrup. Mixing in a small amount of almond flour or finely chopped nuts can also improve the texture and firmness. Press the mixture firmly into molds and chill in the fridge or freezer to set fully before adding the chocolate topping.
What is the best way to melt chocolate and nut butter for no bake chocolate cups?
The chocolate and nut butter can be melted together either in a microwave-safe bowl or over a double boiler. In the microwave, heat in short 15-20 second bursts, stirring between intervals to avoid burning. Over a double boiler, gently stir until smooth. This method prevents overheating and ensures a creamy, even mixture for smooth cups.
Can no bake chocolate cups be stored at room temperature or do they require refrigeration?
No bake chocolate cups can be stored at room temperature for up to 2-3 days but will be softer and less firm. For longer storage and a better texture, refrigerate for up to 4 days or freeze for extended preservation. When frozen, allow them to thaw in the fridge before serving to maintain the best consistency.
Can I make smaller or mini versions of no bake chocolate cups?
Yes, mini versions can be made using smaller silicone molds or mini cupcake liners. This is perfect for bite-sized treats or portion control. Alternatively, you can press the oat mixture into a loaf pan, freeze to set, then cut into small squares or rectangles to serve as mini cups.
No Bake Chocolate Cups with Peanut Butter and Oats – Easy 6 Ingredient Treat
- Total Time: 1 to 3 hours 10 minutes
- Yield: 10 cups 1x
- Diet: Vegan
Description
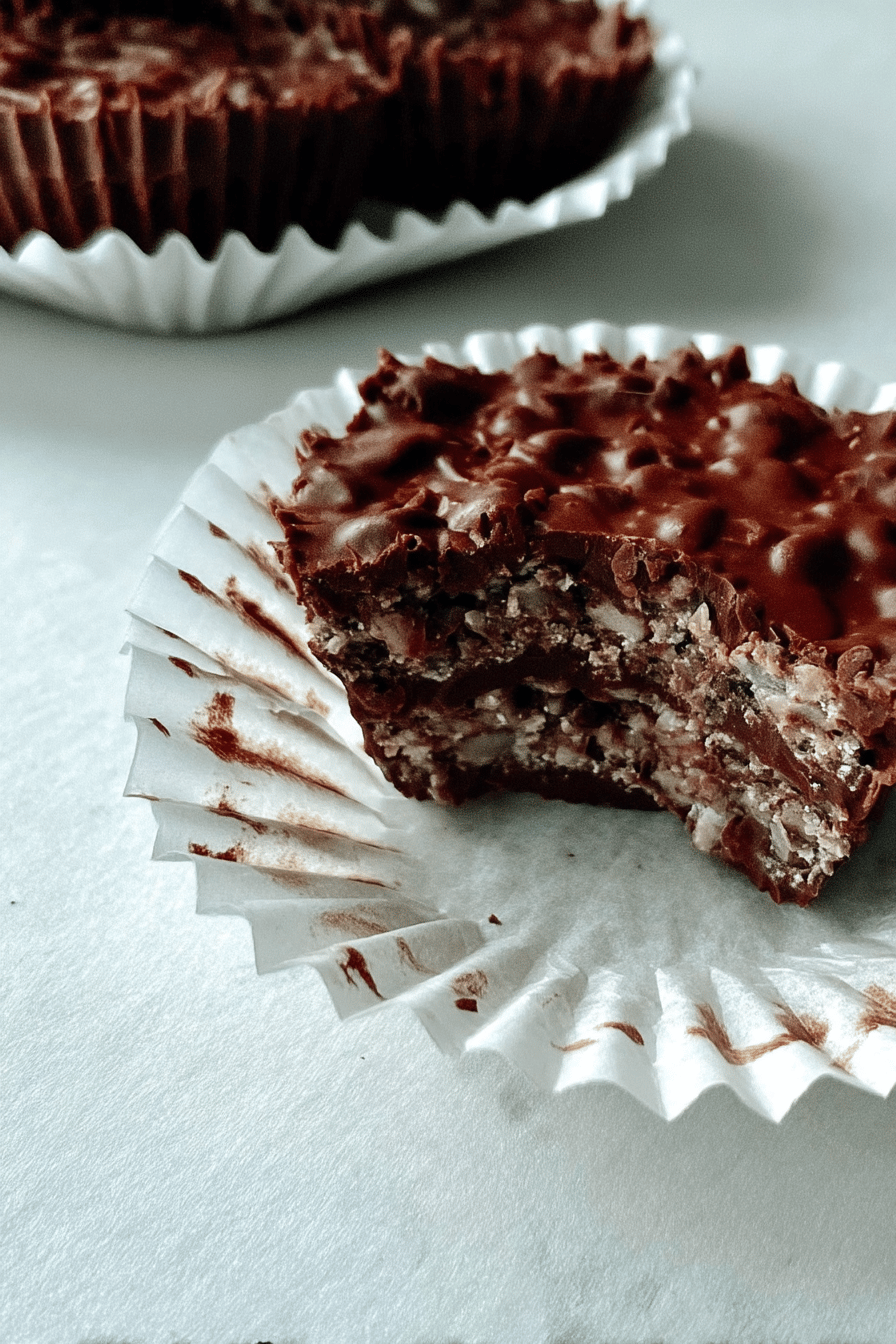
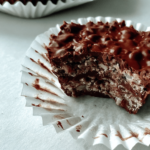
🍫 Indulge in these no-bake chocolate cups, combining creamy peanut butter with a rich dark chocolate topping for a satisfying treat.
🥜 Easy to make with only six ingredients, they are a healthier alternative satisfying both sweet and salty cravings!
Ingredients
1 cup peanut or other nut butter
1 cup mixed nuts, chopped
1/2 cup almond flour or protein powder
2 tablespoons real maple syrup
1 teaspoon vanilla extract
3/4 cup dark chocolate chips or chopped dark chocolate
1 teaspoon coconut oil or 2 tablespoons peanut butter
Coarse salt or flaky salt (optional)
Instructions
1. Combine nut butter, chopped nuts, almond flour, maple syrup, and vanilla extract in a bowl. Mix until well blended.
2. Divide mixture evenly into 10 silicone muffin molds or lined muffin tray. Flatten slightly if needed.
3. Freeze for 30 to 60 minutes to firm up the filling.
4. Melt dark chocolate and coconut oil over low heat until smooth.
5. Spoon 1 tablespoon of melted chocolate on each cup and smooth the surface.
6. Sprinkle with salt if desired.
7. Freeze until chocolate is set, about 30 to 60 minutes.
8. Store in an airtight container in the freezer.
Notes
🧁 Use a silicone muffin tray for easy removal.
🥄 Soften nut butter before mixing for better consistency.
🌰 For more crunch, increase chopped nuts or add granola.
- Prep Time: 10 minutes
- Freezing and setting time: 1 to 3 hours
- Cook Time: 0 minutes
- Category: Dessert
- Method: No-Bake
- Cuisine: American
Nutrition
- Serving Size: 1 cup
- Calories: 285
- Sugar: 10g
- Sodium: 175mg
- Fat: 21g
- Saturated Fat: 6g
- Unsaturated Fat: 12g
- Trans Fat: 0g
- Carbohydrates: 20g
- Fiber: 3g
- Protein: 7g
- Cholesterol: 0mg
Keywords: No-Bake, Chocolate, Peanut Butter, Oats