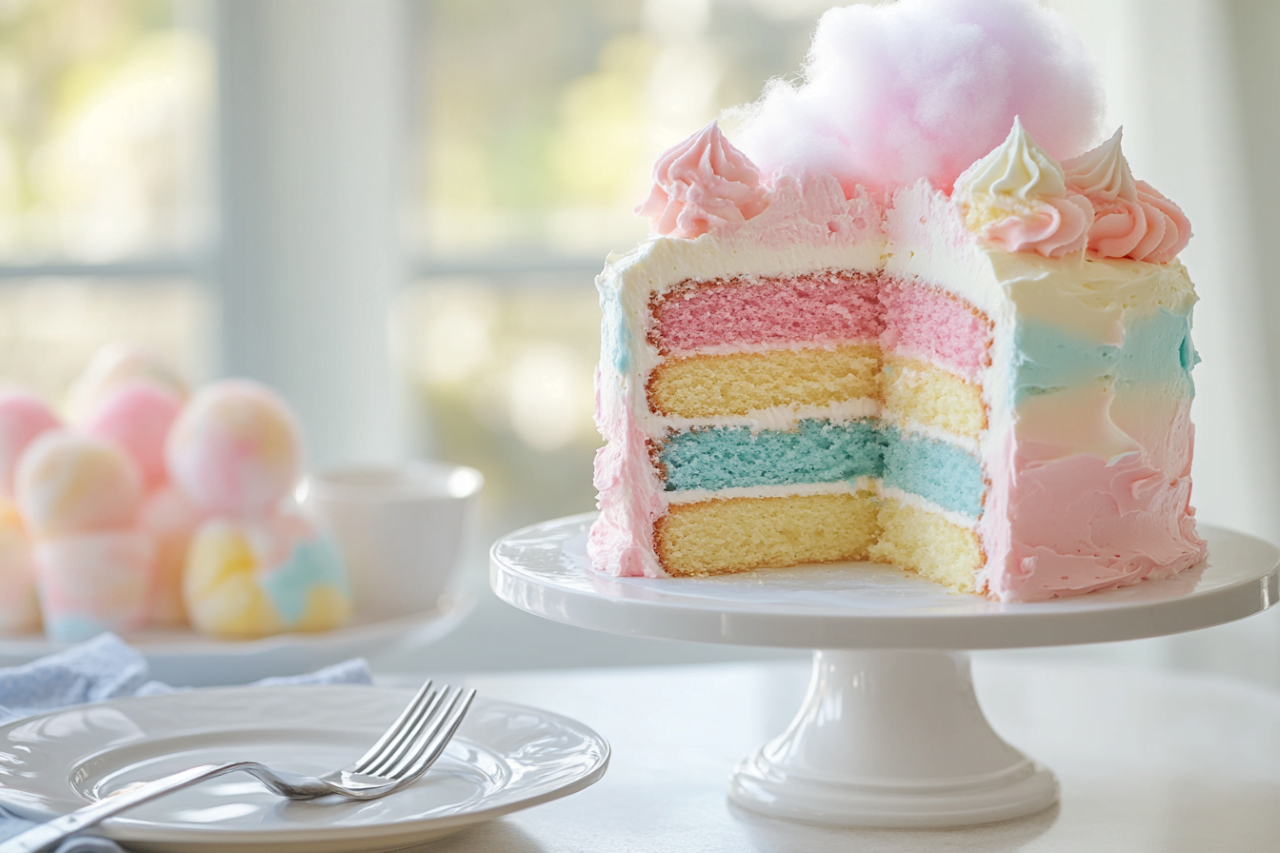
Cotton Candy Cake: the nostalgic scent of sweet
Imagine walking into a room filled with the nostalgic scent of sweet, sugary cotton candy, and there in the center of the table is a cake that looks just as whimsical as it smells. A Cotton Candy Cake is a delightful creation that not only brings back memories of carefree days at the fair but also adds a playful and vibrant touch to any celebration.
The Cotton Candy Cake is not just another dessert; it’s an experience that combines the classic flavors we know and love with a whimsical, modern twist. This cake is perfect for those who want to bring a bit of magic to their kitchen and serve a show-stopping dessert that’s as fun to make as it is to eat.
Whether you’re a busy parent looking to surprise your kids with something special, a student wanting to impress your friends, or a baking enthusiast who loves experimenting with new flavors and designs, this recipe offers a unique blend of creativity and flavor. The Cotton Candy Cake is more than just a treat; it’s a celebration of joy, color, and sweetness that’s sure to leave a lasting impression.
https://en.wikipedia.org/wiki/History_of_Spokane,_WashingtonIn this article, we’ll walk you through the entire process of creating this whimsical dessert, from gathering the ingredients to putting the final touches on your masterpiece. Whether you’re planning a birthday party, a themed celebration, or just want to indulge in a sweet treat, this Cotton Candy Cake is sure to be a hit. Let’s dive into the world of cotton candy magic and start baking!
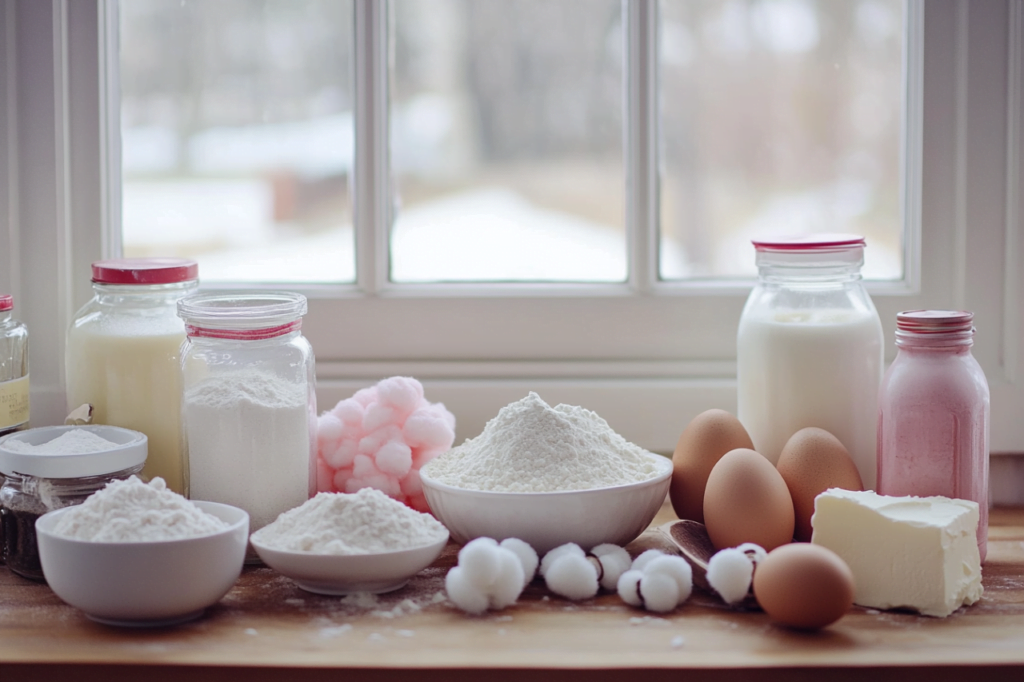
Ingredients For cotton candy cake
Creating a Cotton Candy Cake that’s both delicious and visually stunning requires a thoughtful selection of ingredients. Each component plays a crucial role in bringing together the flavors and textures that make this cake special. Here’s what you’ll need to get started:
Cake Ingredients
To achieve the light and fluffy texture that characterizes this cake, you’ll need:
- Cake Flour – 2 ¾ cups, sifted for a finer texture
- Baking Powder – 1 ½ teaspoons to ensure a good rise
- Baking Soda – ½ teaspoon for additional lift
- Salt – ½ teaspoon to balance the sweetness
- Granulated Sugar – 1 ¾ cups for a perfect level of sweetness
- Unsalted Butter – ¾ cup, softened to room temperature for a smooth batter
- Large Eggs – 3, at room temperature to ensure proper emulsification
- Vanilla Extract – 2 teaspoons for a subtle depth of flavor
- Whole Milk – 1 cup, at room temperature for a moist crumb
- Cotton Candy Flavoring – 1 teaspoon, to infuse the cake with that signature cotton candy taste
These ingredients come together to create the cake’s fluffy layers, with the cotton candy flavoring adding a unique twist to the classic vanilla base. The use of cake flour instead of all-purpose flour is essential in achieving a tender crumb that pairs perfectly with the sweet, airy buttercream.
Buttercream Ingredients
The buttercream is where the magic of cotton candy truly shines. To create a silky, cotton candy-flavored frosting, you’ll need:
- Unsalted Butter – 1 cup, softened for a creamy texture
- Powdered Sugar – 4 cups, sifted to avoid any lumps
- Heavy Cream – 2 tablespoons, to reach the desired consistency
- Cotton Candy Flavoring – 1 teaspoon, for that authentic flavor
- Food Coloring – A few drops of pastel colors (pink, blue, or purple) to match the whimsical theme
The buttercream will be the star of the show, bringing the nostalgic taste of cotton candy to every bite. The combination of rich butter and powdered sugar creates a creamy base, while the cotton candy flavoring adds a burst of sweetness that’s reminiscent of a day at the carnival. The food coloring allows you to create a cake that’s as visually appealing as it is delicious.
Decoration Supplies
To truly capture the whimsical essence of a Cotton Candy Cake, the decorations are key. Here’s what you’ll need:
- Cotton Candy – Freshly spun or store-bought, for a fun and authentic topping
- Edible Glitter – To add a touch of sparkle to your cake
- Pastel Sprinkles – To enhance the playful theme
- Piping Bags and Tips – For precise and creative decorating
- Edible Flowers – Optional, for an elegant twist
These decorations allow you to bring your Cotton Candy Cake to life, making it a centerpiece for any celebration. The combination of edible glitter, pastel sprinkles, and cotton candy creates a cake that’s not only delicious but also visually stunning.
Preparation
With all your ingredients ready, it’s time to start preparing your Cotton Candy Cake. This section will guide you through the essential steps to create a cake that’s both beautiful and delicious.
Step 1: Preheat and Prep
Before diving into the batter, make sure your oven is preheated and your cake pans are prepared:
- Preheat the Oven – Set your oven to 350°F (175°C) to ensure it’s ready by the time your batter is mixed.
- Prepare the Cake Pans – Grease and flour three 8-inch round cake pans to prevent sticking. For extra assurance, line the bottom of each pan with parchment paper.
Getting these steps right at the beginning ensures that your cake layers bake evenly and come out of the pans easily. Proper preparation sets the stage for success, so don’t skip these important steps.
Step 2: Making the Cake Batter
Now, let’s move on to creating the batter, the foundation of your Cotton Candy Cake:
- Cream the Butter and Sugar – In a large mixing bowl, beat the softened butter and granulated sugar together until light and fluffy. This process usually takes about 3-4 minutes. Proper creaming is essential to creating a light, airy cake.
- Add Eggs and Vanilla – Beat in the eggs one at a time, making sure each egg is fully incorporated before adding the next. Add the vanilla extract and mix until combined.
- Combine Dry Ingredients – In a separate bowl, whisk together the cake flour, baking powder, baking soda, and salt. Slowly add this dry mixture to the butter mixture, alternating with the milk, beginning and ending with the flour mixture.
- Mix in Cotton Candy Flavoring – Once the batter is smooth, gently fold in the cotton candy flavoring, being careful not to overmix, which can lead to a dense cake.
The key to a perfect batter is to mix just until the ingredients are combined, ensuring a light texture. Overmixing can result in a tough cake, so take care to fold the batter gently, especially after adding the cotton candy flavoring.
Step 3: Baking the Cake
The final step in the preparation process is baking the cake layers to perfection:
- Divide the Batter – Evenly divide the batter between the prepared cake pans. You can use a kitchen scale to ensure each pan has the same amount of batter for even layers.
- Bake the Layers – Place the pans in the oven and bake for 25-30 minutes, or until a toothpick inserted into the center comes out clean.
- Cool the Cakes – Allow the cakes to cool in the pans for 10 minutes before transferring them to a wire rack to cool completely.
Baking at the right temperature and for the right amount of time ensures that your cake layers are cooked through without drying out. Cooling the cakes completely before frosting is crucial to prevent the buttercream from melting.
Buttercream and Assembly
Now that your cake layers are perfectly baked and cooled, it’s time to move on to the buttercream and assembling the cake. This step is where the cotton candy flavor really comes to life, and where you’ll start to see your cake take shape.
Step 4: Preparing the Cotton Candy Buttercream
The buttercream is a key component of this cake, providing both flavor and texture. Here’s how to make a smooth, cotton candy-flavored buttercream:
- Beat the Butter – In a large mixing bowl, beat the softened butter until creamy and smooth. This should take about 2-3 minutes.
- Add Powdered Sugar – Gradually add the sifted powdered sugar, one cup at a time, mixing on low speed until fully incorporated. Once all the sugar is added, increase the speed to medium and beat until light and fluffy.
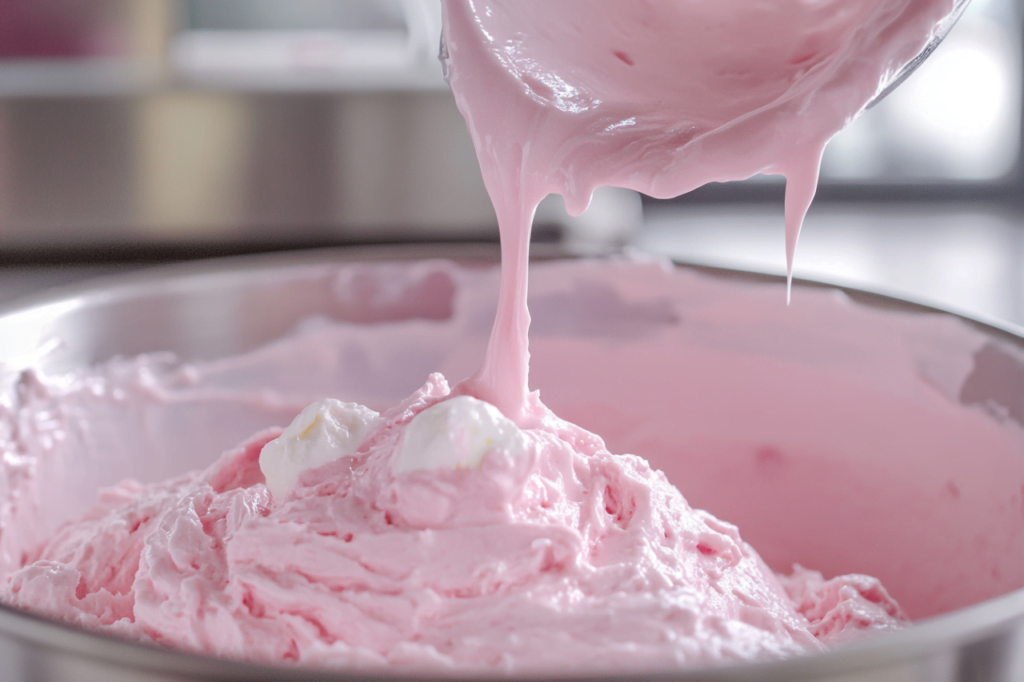
- Incorporate Cotton Candy Flavoring – Add the cotton candy flavoring and heavy cream, and continue beating on medium speed until the buttercream is smooth and has reached your desired consistency. If the buttercream is too thick, you can add a little more cream, one tablespoon at a time, until it’s just right.
- Color the Buttercream – Divide the buttercream into separate bowls if you plan to use multiple colors. Add a few drops of food coloring to each bowl and mix until the colors are evenly distributed. Pastel shades like pink, blue, and purple work wonderfully for this cake.
This buttercream is not only delicious but also visually stunning, with its light, fluffy texture and pastel hues. The cotton candy flavoring adds a sweet, nostalgic touch that perfectly complements the cake layers.
Step 5: Assembling the Cake
With your buttercream ready, it’s time to assemble the cake. This step requires patience and precision, but the result will be a beautifully layered cake that’s sure to impress.
- Level the Cake Layers – If your cake layers have domed tops, use a serrated knife to level them off, creating a flat surface for stacking.
- Apply the First Layer of Buttercream – Place the first cake layer on a cake board or serving plate. Spread a generous amount of buttercream on top, using an offset spatula to smooth it out evenly. Repeat with the second and third layers.
- Crumb Coat the Cake – Apply a thin layer of buttercream over the entire cake to seal in any crumbs. This is known as the crumb coat. Chill the cake in the refrigerator for 20-30 minutes to set the crumb coat.
- Final Frosting Layer – Once the crumb coat is set, apply the final layer of buttercream, smoothing it out with an offset spatula. If you’re using multiple colors, you can create a watercolor effect by adding small dabs of each color and blending them together.
The assembly process is where the cake really starts to come together. Take your time to ensure each layer is even and that the buttercream is smooth. This will give your cake a professional finish and make it easier to decorate later.
Decoration
With your cake assembled and frosted, it’s time to have some fun with the decoration. The whimsical theme of the Cotton Candy Cake gives you plenty of room for creativity, so don’t be afraid to experiment with different ideas.
Step 6: Decorating with a Whimsical Twist
Decorating the Cotton Candy Cake is where you can let your imagination run wild. Here are some ideas to help you create a cake that’s as beautiful as it is delicious:
- Cotton Candy Toppers – Add freshly spun or store-bought cotton candy to the top of the cake. This gives the cake an authentic carnival feel, but remember to add the cotton candy just before serving, as it can deflate quickly.
- Pastel Colors – Use pastel-colored buttercream or fondant to create a soft, dreamy look. You can also add a watercolor effect by blending different colors together.
- Edible Glitter and Sprinkles – Sprinkle edible glitter or pastel sprinkles over the top of the cake to add a touch of sparkle and enhance the whimsical theme.
- Themed Toppers – Consider adding themed toppers, such as small carnival-themed decorations or edible flowers, to add an extra layer of detail to your cake.
These decoration ideas not only make the cake visually stunning but also enhance the overall theme of whimsy and fun. Whether you keep it simple or go all out, the decorations are what make the Cotton Candy Cake a true showstopper.
Creative Variations
If you’re feeling adventurous, you can experiment with some creative variations to make your Cotton Candy Cake even more unique:
- Marbled Cake Layers – Create a marbled effect in your cake layers by swirling different colored batters together before baking.
- Edible Flowers – Add a touch of elegance by decorating the cake with edible flowers that complement the pastel color scheme.
- Flavored Buttercream – Try using different flavored buttercreams between the layers, such as strawberry or vanilla, to add depth to the flavor profile.
These variations allow you to put your own spin on the Cotton Candy Cake, making it a truly personalized creation. Whether you stick to the classic recipe or try something new, the possibilities are endless.
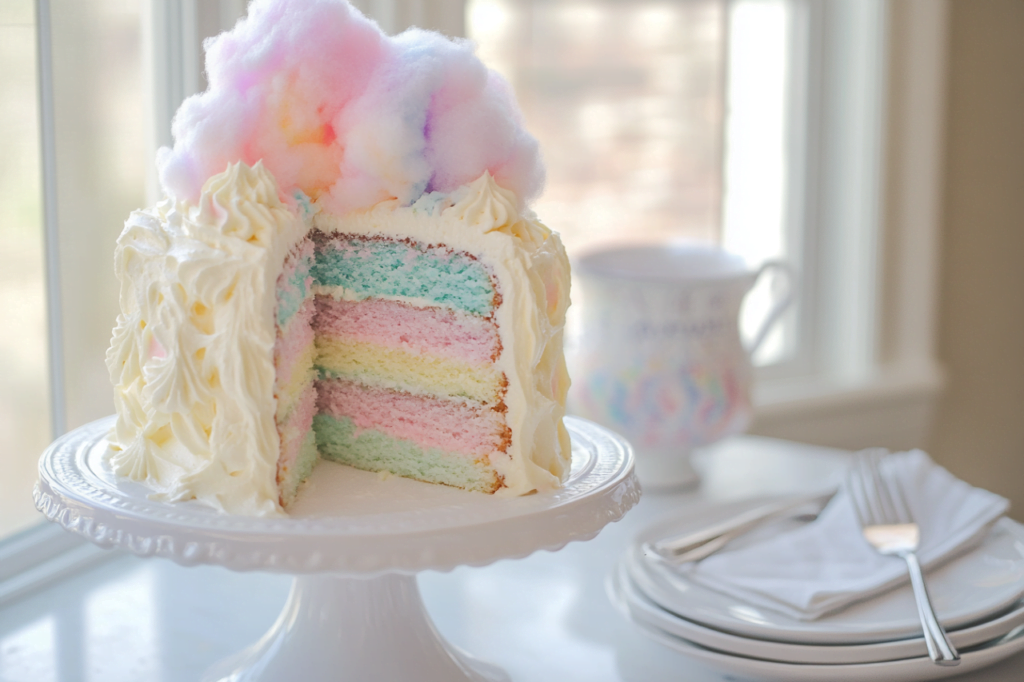
Serving Suggestions
Now that your Cotton Candy Cake is beautifully decorated and ready to impress, it’s time to think about how to serve it. Presenthttps://en.wikipedia.org/wiki/Moses_Lake,_Washingtonation is key when it comes to making your cake the star of the show, and these tips will help you create a memorable dessert experience.
Presentation Tips
The way you present your Cotton Candy Cake can enhance its whimsical appeal and make it even more enticing. Here are some ideas to help you showcase your creation:
- Cake Stand Display – Place the cake on a decorative cake stand to elevate it, literally and figuratively. A glass or pastel-colored stand complements the cake’s theme and adds a touch of elegance.
- Themed Plates and Utensils – Serve the cake on pastel-colored or carnival-themed plates, with matching utensils. This adds an extra layer of detail to your presentation and ties everything together.
- Creative Slicing – When it’s time to slice the cake, use a large, sharp knife to make clean cuts. For a whimsical touch, you can alternate between large and small slices or create fun shapes with cookie cutters.
- Cotton Candy Accents – As a final touch, add a small piece of cotton candy to each plate just before serving. This not only looks adorable but also gives each serving that signature cotton candy flavor.
These presentation tips help you turn a simple slice of cake into a delightful experience, making your Cotton Candy Cake the centerpiece of any celebration.
Serving Sizes
When it comes to serving the Cotton Candy Cake, the number of servings will depend on the size of the slices and the occasion. Here’s a guide to help you determine the best serving sizes:
- Standard Slices – For a typical 8-inch, three-layer cake, you can expect to get 12-16 slices if you cut it into standard portions.
- Party Slices – If you’re serving the cake at a party or larger gathering, you may want to cut smaller slices to accommodate more guests. In this case, you can get up to 20-24 slices from the cake.
- Generous Slices – For more intimate settings, where fewer guests are present, you can opt for larger, more generous slices, yielding about 10-12 servings.
By adjusting the slice sizes based on your audience, you can ensure that everyone gets to enjoy a piece of this delightful cake without running out too soon.
Conclusion
As you bring your Cotton Candy Cake to the table, you’re not just serving dessert—you’re offering a whimsical experience that’s sure to create lasting memories. This cake, with its nostalgic flavors and playful design, is perfect for any occasion where joy and celebration are at the forefront.
Encourage your guests to savor each bite, enjoying the light, fluffy texture of the cake layers and the sweet, airy taste of the cotton candy buttercream. The combination of flavors and the whimsical decoration will undoubtedly leave a lasting impression.
Final Thoughts
The Cotton Candy Cake is more than just a recipe; it’s a creative journey that brings the magic of a carnival right into your kitchen. Whether you’re a seasoned baker or trying your hand at something new, this cake is a fun and rewarding project that’s sure to delight everyone who tries it.
As you experiment with your own creative twists, remember that the best part of baking is the joy it brings to others. So don’t hesitate to share your version of the Cotton Candy Cake with friends, family, or on social media. After all, the best recipes are those that are shared and enjoyed together.
Your own creative variations ?
Ready to take your Cotton Candy Cake to the next level? Try adding your own creative variations, or share your unique decorations with us! We’d love to see your creations, so be sure to tag us on social media with #ValentinaRecipes. Let’s inspire others to bring a little more whimsy into their kitchens!
FAQ Section
While we’ve covered the process of making the Cotton Candy Cake in detail, you might still have a few questions. Here are some answers to common questions that can help you perfect your cake:
What is Cotton Candy Cake made of?
Cotton Candy Cake is typically made from a base of cake flour, butter, sugar, eggs, and milk, with cotton candy flavoring added to both the cake batter and the buttercream. It’s often decorated with pastel colors, edible glitter, and real cotton candy for a fun, whimsical look.
How long does a Cotton Candy Cake last?
For the best flavor and texture, we recommend enjoying your Cotton Candy Cake within 1-2 days of baking. If you need to store it longer, keep it in an airtight container at room temperature and consume it within two weeks. However, if you’ve added fresh cotton candy as decoration, it’s best to serve the cake immediately, as the cotton candy can deflate quickly.
What flavor is Cotton Candy?
The flavor of cotton candy is primarily created using ethyl maltol, which has a sweet, caramelized sugar taste. Another key ingredient is strawberry furanone, which adds a fruity, berry-like note to the flavor. Together, these ingredients give cotton candy its signature taste that’s both sugary and slightly fruity.
Can you make Cotton Candy ahead of time?
Yes, you can make cotton candy ahead of time, but it’s important to store it properly to maintain its texture. For best results, make the cotton candy no more than a few hours before serving and store it in a cool, dry place. Avoid exposing it to heat or humidity, as this can cause it to melt or deflate.
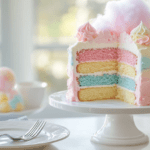
Cotton Candy Cake: Recipe with a Whimsical Twist
- Total Time: 45 minutes
Description
🍭 Indulge in the sweet magic of a cotton candy cake that brings joy and nostalgia to every bite! 🎂
🎉 Perfect for celebrations, this whimsical treat is a must-try to surprise and delight your loved ones! ✨
Ingredients
Cake Flour – 2 ¾ cups, sifted for a finer texture
Baking Powder – 1 ½ teaspoons to ensure a good rise
Baking Soda – ½ teaspoon for additional lift
Salt – ½ teaspoon to balance the sweetness
Granulated Sugar – 1 ¾ cups for a perfect level of sweetness
Unsalted Butter – ¾ cup, softened to room temperature for a smooth batter
Large Eggs – 3, at room temperature to ensure proper emulsification
Vanilla Extract – 2 teaspoons for a subtle depth of flavor
Whole Milk – 1 cup, at room temperature for a moist crumb
Cotton Candy Flavoring – 1 teaspoon, to infuse the cake with that signature cotton candy taste
Unsalted Butter – 1 cup, softened for a creamy buttercream texture
Powdered Sugar – 4 cups, sifted to avoid any lumps in the frosting
Heavy Cream – 2 tablespoons, to reach the desired buttercream consistency
Cotton Candy Flavoring – 1 teaspoon, for the authentic buttercream flavor
Food Coloring – A few drops of pastel colors (pink, blue, or purple) for the whimsical theme
Cotton Candy – Freshly spun or store-bought, for a fun and authentic topping
Edible Glitter – To add a sparkling touch to your cake’s decoration
Pastel Sprinkles – To enhance the playful and colorful theme
Piping Bags and Tips – For precise and creative decorating
Edible Flowers – Optional, for an elegant decoration twist
Instructions
1. **Preheat and Prep the Oven**
Preheat your oven to 350°F (175°C). Grease and flour three 8-inch round cake pans, and line the bottoms with parchment paper.
2. **Prepare the Cake Batter**
Cream the softened butter and sugar in a mixing bowl until light and fluffy (about 3-4 minutes). Incorporate eggs one at a time, followed by vanilla extract. Separately, whisk together cake flour, baking powder, baking soda, and salt. Gradually add these dry ingredients to the butter mixture, alternating with milk, starting and ending with the flour. Fold in cotton candy flavoring gently.
3. **Bake the Cake Layers**
Divide the batter evenly between the prepared pans. Bake for 25-30 minutes, or until a toothpick inserted comes out clean. Allow the cakes to cool for 10 minutes in the pans before transferring to a wire rack to cool completely.
4. **Prepare the Cotton Candy Buttercream**
Beat softened butter in a mixing bowl until creamy (2-3 minutes). Gradually add sifted powdered sugar, one cup at a time, mixing well. Add cotton candy flavoring, heavy cream, and food coloring for pastel shades. Mix until smooth and fluffy.
5. **Assemble the Cake**
Level cake layers if necessary. Spread a layer of buttercream on the first cake layer, stack the next, and repeat. Apply a thin crumb coat over the entire cake, chill for 20-30 minutes, and then add the final buttercream layer, smoothing it evenly.
6. **Decorate with Whimsy**
Add freshly spun or store-bought cotton candy on top just before serving. Use edible glitter, pastel sprinkles, or watercolor buttercream effects for a playful look. Optional toppers such as edible flowers can enhance the whimsical theme.
7. **Serve the Cake**
Present the cake on a decorative cake stand. Slice with a sharp knife or make playful shapes with cookie cutters. Add small pieces of cotton candy to individual plates for added delight.
8. **Storage and Extras**
If not serving immediately, store the cake in an airtight container at room temperature for up to two days. Add cotton candy toppings just before serving to maintain freshness.
9. **Enjoy the Whimsical Creation**
Serve your Cotton Candy Cake as a centerpiece for parties, birthdays, or special occasions, ensuring every slice brings joy and nostalgia.
Notes
1. Bring the magic of the fair to your celebrations with vibrant cotton candy-inspired flavors and pastel decorations.
2. Create show-stopping designs using colorful buttercream, edible glitter, and whimsical cotton candy toppings.
3. Perfect each step from batter to decoration with simple techniques for a flawless, fun-filled cake.
- Prep Time: 20
- Cook Time: 25
- Category: Dessert
- Method: Baking
- Cuisine: United States

